A dental simulator order should include installation documents for the exact model and options you are buying. Your facilities team needs these to plan compressed air, water, wastewater and suction, electrical supply, and room access. The room also needs space for students to work and technicians to reach service points.
For a dental school buying physical phantom-head simulators, the useful starting point is an agreed equipment configuration. Lamps, instruments and other options can change the services a unit needs. Settling those details with the supplier before floors, cabinets or service lines are finished gives the site team a clear basis for its work.
Discuss your setupAir supply
Dental simulator air supply requirements include pressure and airflow. The supplier should state the air consumption of the selected equipment at its required operating pressure. This gives the purchasing team a useful basis for comparison; a tank size or headline airflow figure alone cannot establish a suitable supply.
Compressor selection also depends on how the room will run. The supplier needs to know how many units will operate together, which air-powered functions students will use, and whether other equipment shares the compressor. Filtration, drying, pipe runs and connection sizes belong in that discussion.
Before accepting the proposal, agree who supplies the compressor, air treatment equipment, distribution pipes and station connectors. The facilities team can then review the service location, ventilation, noise and maintenance access, and record the agreed requirements on the room drawings.
Our dental air compressor information explains the selection points to discuss when requesting a recommendation for your equipment and expected simultaneous use.
Water and suction
Whether a dental simulator needs a water supply from the building depends on the configuration. Some units use a refillable clean-water bottle; others may be configured for a central supply. The quotation and installation documents should identify the arrangement, along with its water quality, connection and cleaning requirements.
Dental simulator drainage requirements follow the wastewater collection method. A collection bottle and a connection to building drainage call for different site preparation. Where bottles are used, the team also needs access to remove, empty and clean them according to the manufacturer's instructions.
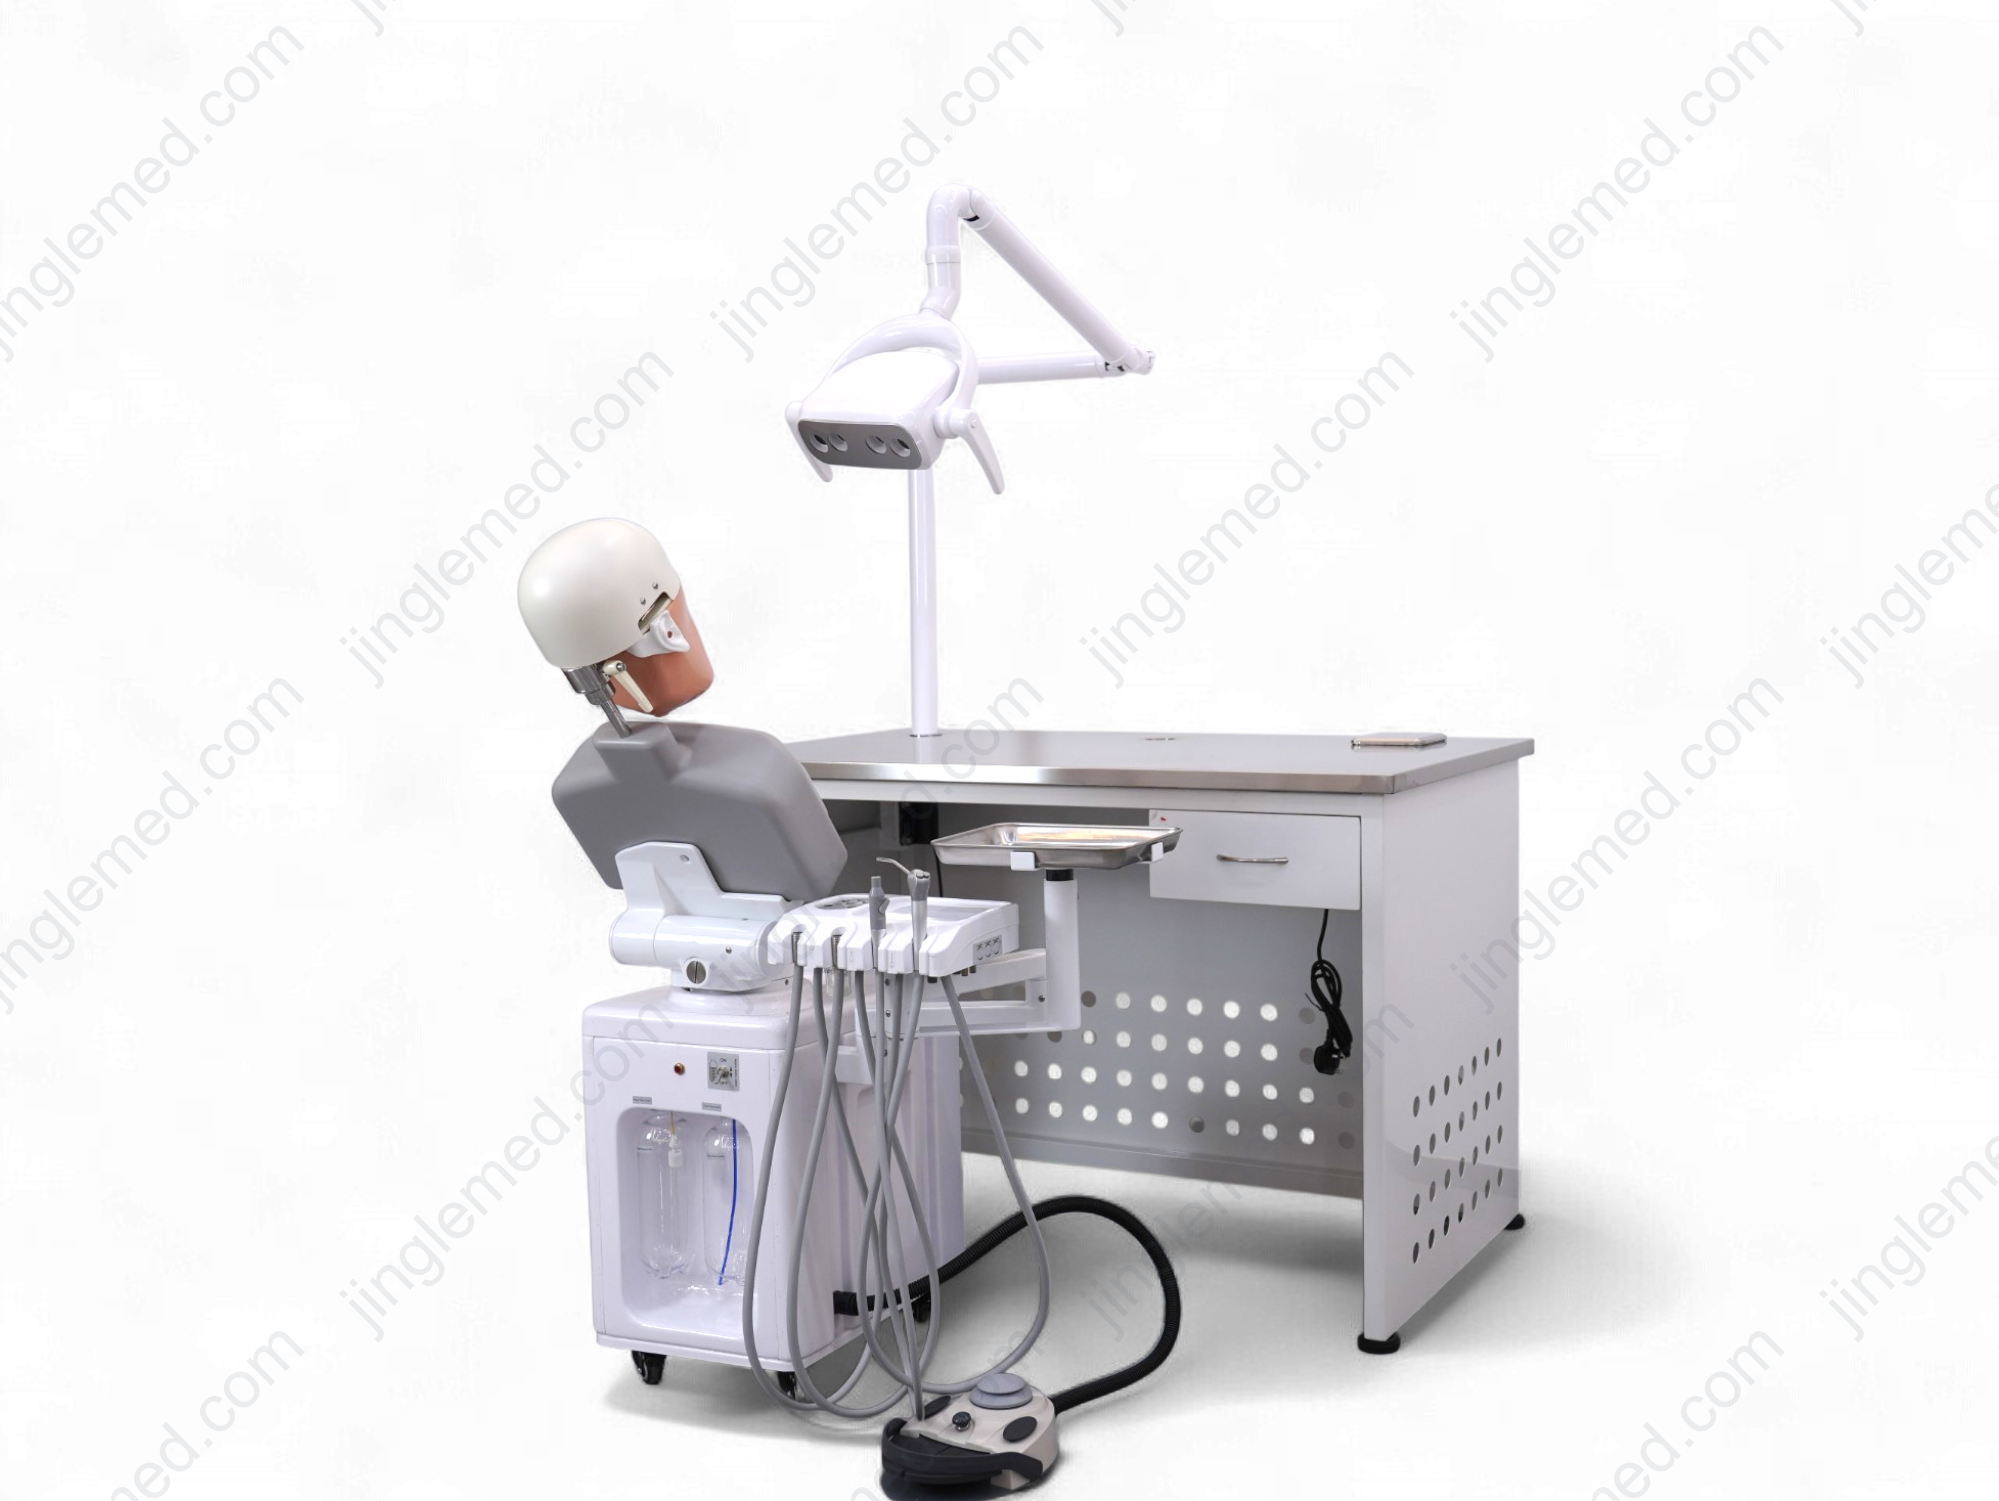
Suction needs its own entry on the service plan. A waste bottle does not tell you whether the unit requires a central vacuum connection or uses another suction system. Once the supplier has identified the system, the site team can review any external supply, connections and shared capacity it needs. Services that the configuration does not require can be marked not applicable.
Electrical supply
Dental simulator power requirements should cover everything in the order, including powered positioning, lighting and selected instruments. A complete electrical specification gives the voltage, frequency, rated load and connection details for that configuration.
Your local electrical professional can use those documents to review the supply, protective earthing, circuit protection and isolation arrangements against applicable local requirements. A matching plug alone does not establish that the circuit can supply the equipment. In an existing teaching room, available electrical capacity needs to be confirmed before the order is placed.
The approved layout should locate outlets and accessible controls while keeping cables clear of foot controls, moving parts and walking routes. These details are easier to agree when the equipment and facilities teams work from the same drawing.
Space and access
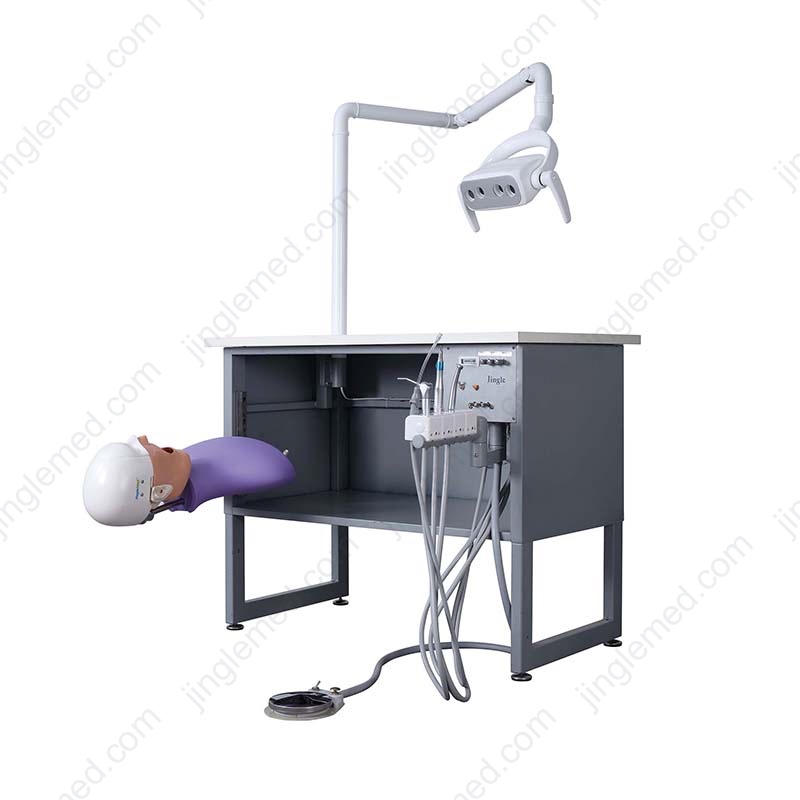
Dental simulator space requirements extend beyond the cabinet footprint. A dimensioned drawing should show the equipment in use, including the movement of the head, torso, instrument arms and lamp where fitted. This helps the school assess the working area around each station.
Operator stools, teaching access, cleaning and repairs all need room. The institution's facilities team should review circulation and accessibility for the proposed layout. A floor-area allowance from another project cannot confirm that your chosen equipment will fit.
Getting the equipment into the room needs planning too. Packed dimensions should be compared with doors, lifts and corridors, with space agreed for unloading, unpacking and holding crates. The supplier should also identify any assembly, anchoring or floor conditions required, so responsibility for site preparation is clear.
The station count needs to be settled before the room plan is approved. Our guide to simulator quantities explains how simultaneous practice affects equipment numbers.
Pre-installation checklist
Before approving building work or delivery, use this dental simulator pre-installation checklist to identify the documents and people involved. Each item needs an owner and a document reference in the project record. Missing information should be resolved before the related site work begins.
On a phone, scroll the table sideways to see all columns.
| Check | Agree with | Document to obtain |
|---|---|---|
| Model and options | Supplier and buyer | Approved configuration; current installation documents |
| Compressed air | Supplier and facilities team | Operating pressure and flow; air treatment; connection plan |
| Water and wastewater | Supplier and facilities team | Bottle or central supply; collection or drainage arrangement |
| Suction | Supplier and facilities team | System type; any external connection and capacity requirements |
| Electricity | Supplier and local electrical professional | Electrical data; circuit and outlet plan |
| Room and delivery route | Facilities and receiving teams | Dimensioned layout; clearances; packed dimensions and route |
| Installation and handover | Buyer and installation provider | Named task owners; agreed checks; training and fault contact |
Handover arrangements belong in the purchase agreement as well. Written checks should cover the delivered configuration and ordered functions, with a named person to record missing items or faults and an agreed supplier response process. The approved drawings and manuals should remain available for servicing.
For questions about the supplier itself, refer to our manufacturer checklist. Equipment and delivery costs are covered in the simulator price guide.
Questions before installation
Can a simulator use bottled water?
A unit designed for a refillable water bottle can use that arrangement under its manufacturer's instructions. The permitted water quality and refill procedure still need to be confirmed. Commercially bottled drinking water should not be assumed to meet those instructions.
Do manual units need electricity?
They may. Manual adjustment describes how a part moves; lamps or selected instruments can still need power. The electrical data for the complete configuration will show what supply is required.
Can we use our existing compressor?
The supplier needs its operating pressure, delivered airflow, air treatment and other connected loads, plus the number of simulators used at once. That information allows a review of the existing supply. Equipment count alone cannot confirm capacity.
Which documents do we need first?
Start with the approved configuration, installation drawing, utility specifications and installation instructions. Task owners and handover checks should also be agreed. Recording the model and document revision helps everyone work from the same information.
Can we install units in phases?
Yes, planning should cover both the first-stage and future quantities. The project team needs to review service capacity, routes and room access for expansion, with approval obtained before any shared system is changed.
Discuss your setup
To discuss a proposed installation with Jinglemed, send the simulator model, quantity, expected simultaneous use and destination. A room plan showing available air, water, drainage, suction and electrical services will help explain the site. Include a request for installation documents and a clear list of site tasks for the proposed configuration.
You can compare equipment in our dental simulators range.